I love border print fabrics and the homespun looking angel print border fabric that I had kept squirreled away for a special occasion would be perfect for the quilt I wanted to donate to Project Linus. Project Linus has given millions [yes, I said millions] of donated quilts to children in need, whatever the need.
If you have been looking for a worthy cause to make quilts for, Project Linus is it. For further information: http://www.projectlinus.org/. The number of donated quilts has soared to 5 million and there are local chapters so check it out.
The fabric was already in strips ready to be sewn and I needed a quilt that could be done quickly. All that needed to be done was choose a backing fabric, cut it into corresponding strips for the angel fabric and cut batting strips 1/2" less wide than the 2 fabric strips.
Here is the completed quilt:
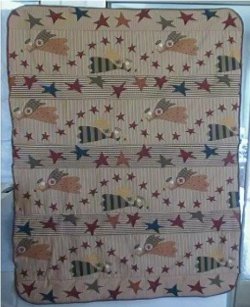
And here are the instructions followed by a video tutorial to clarify my sometimes clear as mud instructions.
The quilt is sewn with standard 1/4" seams.
first:cut backing fabric into the same width and length as top strips.
width of strips will depend on your print and how wide you want your quilt.
width of strips will depend on your print and how wide you want your quilt.
second:cut batting into strips 1/2" less all around than top and back strips [this will keep the batting out of the seams.]
INSTRUCTIONS:
- Arrange quilt top strips in desired pattern with back strips.
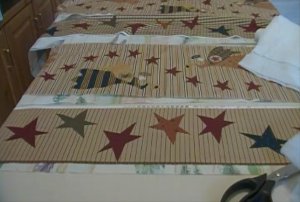
- Starting with the bottom strip of the quilt, place the front strip and back strip wrong sides together.
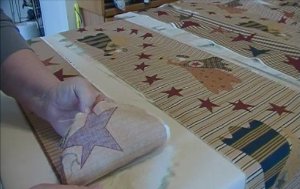
- Flip the front of the adjoining strip over the bottom strip with right sides facing.
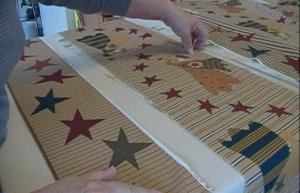
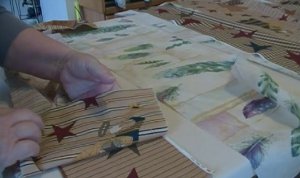
- Flip the back of the adjoining strip to back, so that the right sides of the back strips are facing.
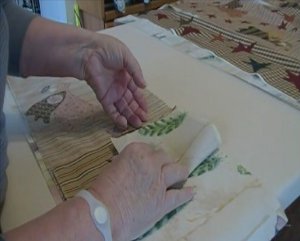
- Sew or serge four layers together.
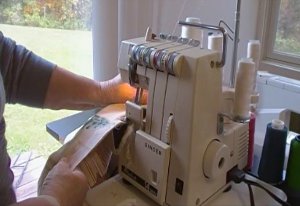
- Flip back strip up.
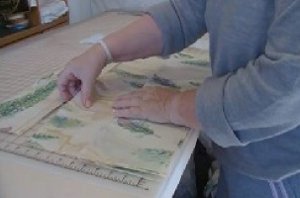
- Place strip of batting on back strip.
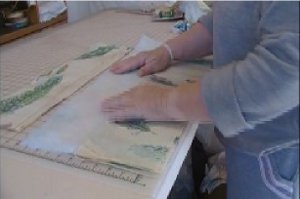
- Flip front strip up over batting.
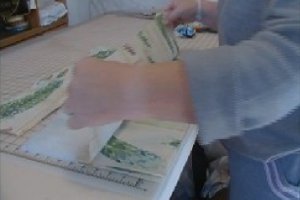
- Smooth and pin so that batting is encased between the front and back pieces of the second strip.
- Repeat from #3 until all strips are sewn and “batted.”
- Trim and bind quilt.
So, if you have any border print fabrics laying around or see any on your next fabric shopping foray and don't know what to do with them, contact me and I will be there to take them off your hands.
God bless you and happy quilting,
Carolyn Wainscott
-------------------------------------------------
Check out my quick and easy patterns in My Pattern Store
@
http://www.craftsy.com/my/pattern-store-overview?_ct=cx-buvjdql&_ctp=my-pattern-store
--------------------------------
while you are over there at Craftsy.com, check out all the patterns and designs by independent designers and the many online classes available-everything from bread making to beadwork to gardening.

